Production Tools of the Photo Artist
From B/W to Lithfilm Roll Stock to Amateur Film Kodak Gold
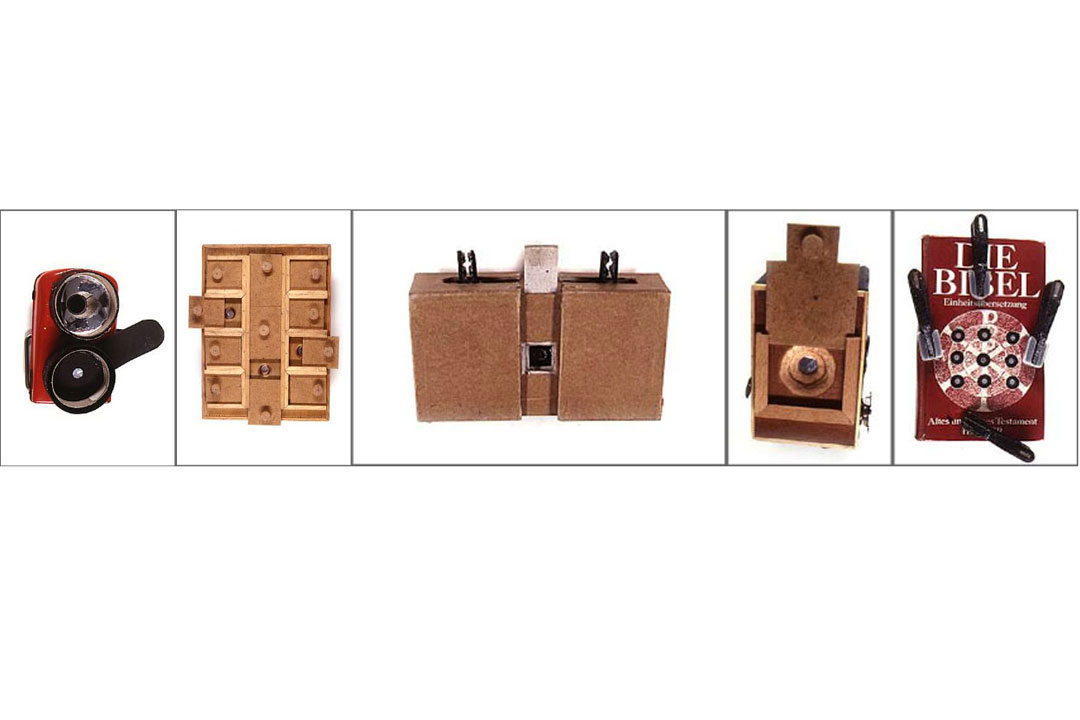
During my studies I was involved in experimental photographic art. Buying a medium format camera, as photography students did at the time, was always too expensive and out of the question for me. Once I borrowed a camera from my professor at the university. I was supposed to make repros for an exhibition catalogue as his assistant. Much later I borrowed this camera again when I was supposed to make repros of the Ruth Nohl Collection for the Siegen Art Association. Actually, I always worked with a reflex camera that I had acquired at the age of 12 and photographed with black and white Ilford films. From the 2nd semester onwards, however, I mostly photographed with self-made pinhole cameras. The medium format camera was now available for under 5 marks and took 45 minutes to build. For other cameras I used rolls of Lith film and cut them myself to expose the film to the light and take pictures in tin cans and tin buckets, dustbins or even in a lorry. During this time, I stopped taking private photos altogether. Photography costs money and time and I wanted to put both into artistic work. Family and holiday photos had completely lost their value for me. During my final thesis for university, I prepared for the Kodak Young Talent Award. Thanks to the prize I received, I met Ursula Moll, who always had an open ear for me and supported me with films now and then.
My journey of experimental creation took me to Berlin in 1998, after I had already finished my studies. There I tried my hand at cross-developing a slide film, unfortunately without success. Fuji films have red and green stripes and are not suitable for contact prints. Ursula Moll made sure that I started working with Kodak professional films, but unfortunately the production changed too quickly. So I decided to use amateur films. I still use 400 ASA film today because there is less light coming through the many lenses. I would always have liked to switch to a medium format camera, but we'll talk about capital equipment in another blog article.

Photo art on photo paper
After film, photographic paper is the most important material for the photographic artist. During my studies I made all my own prints in the lab, except for colour prints, where I rarely made any myself. (Let's see if there will be a collector for that someday) During that time I mainly bought baryta papers for b/w prints, after graduation I remained faithful to b/w photography parallel to colour photography until about 2005.
In 2006 I had many projects and the pictures got bigger and bigger as galleries and collectors asked for bigger and bigger pictures, sort of the effect of the Becher School. Films can only be carried in hand luggage and cannot be scanned like suitcases. I can remember that I once carried about 20kg of film only in my hand luggage and was really afraid that the luggage control would prohibit the transport. From then on, I gave up parallel work with black and white films. It remains to say that photographic artists with experience used baryta paper (the classic photographic paper) because, unlike PE papers, these prints are stable for longer and can be better archived and collected. A basic distinction is made between plastic papers and those with a pure paper backing. Apart from that, I would distinguish between 5 types of photographic paper today:
- Ilfochrome positive paper from the Ilford brand was also less used. Historically, Ilfochrome was the successor name of the Cibachrome process developed by Ciba-Geigy in the 1960s, which was further developed by Ilford under the name Ilfochrome. These papers were primarily used for prints from slides.
- Normal C-prints or chromogenic prints. Most people still know simple colour prints from plastic papers as PE- or also called C-prints, as we find them in the family album.
- The black and white baryta paper, also called silver gelatine or gelatine silver print, gets its name from the high silver content. This process allows a print to be made on high quality photographic paper with varying hardness and thickness of the paper. Here, a layer of silver nitrate is held onto the sheet of paper using gelatine.
- Digitally exposed photographs did not emerge until the turn of the 2000s. There were digitally exposed analogue chemically developed papers as well as prints with pigments and inks. Most digital prints today are printed with pigmented inks on high quality papers.
- There are homemade photo papers, but these are rather rare. These processes, the so-called fine art photographic printing processes, which include salt paper, cyanotype, gum printing, pigment printing, platinum and palladium printing and many more, date back to the time when photography was invented and are based on the light sensitivity of all metallic salts. A photographic paper that anyone can make themselves, everyone has: their own skin, stickers on their skin. But also the wood that darkens or potato starch.
The Emergence of a Photo Lab
Until 1998 I was allowed to use the photo lab at the university. In the same year, we moved into the studios in Friedrichstraße with four young artists. There I gradually set up a laboratory for myself. I got myself the appropriate utensils such as enlargers, water basins, laboratory dishes, also chemistry, a flow heater for a constant water temperature and much more. I made my first exhibition prints. In 2000, my photo lab and studio in Friedrichstraße were ready and I could finally produce. I made large prints of the Venice series and a series Arbor, recopied and enlarged photograms. However, the pressure on coloured works was much higher. From1999 onwards I worked for the colour prints first with the company Besser in Siegen, then with a laboratory in Bonn and finally with the company ViaBild in Cologne. Specialist labs were able to support me perfectly during this time and until today with their high-quality prints. Once you have seen a master print and understood how limited you can be yourself, you look for the perfect assistants or partners to work with.
The Pink Sketchbook, A Notebook from Prague, a Pen and Tape My Best Friends
Loose Typewriter Paper, Diary, Travel Book, Sketchbook All Means for Taking Notes
During the experimental phase of my studies, I kept notes on normal typewriter paper (copy DIN A4). At a certain point, when I no longer knew what to do with the accumulation of loose paper drawings, I later switched to drawing books. My notebook from Prague, which had a pink cover, collected views, notes, experiments from my student days, which I later had bound. During this time, I developed the understanding of seeing and thought about the image of the camera and the distortion of perspective, I also wanted to approach a panorama and understand how this was done. I recorded all this on loose sheets of paper during that time. My own theory of seeing.
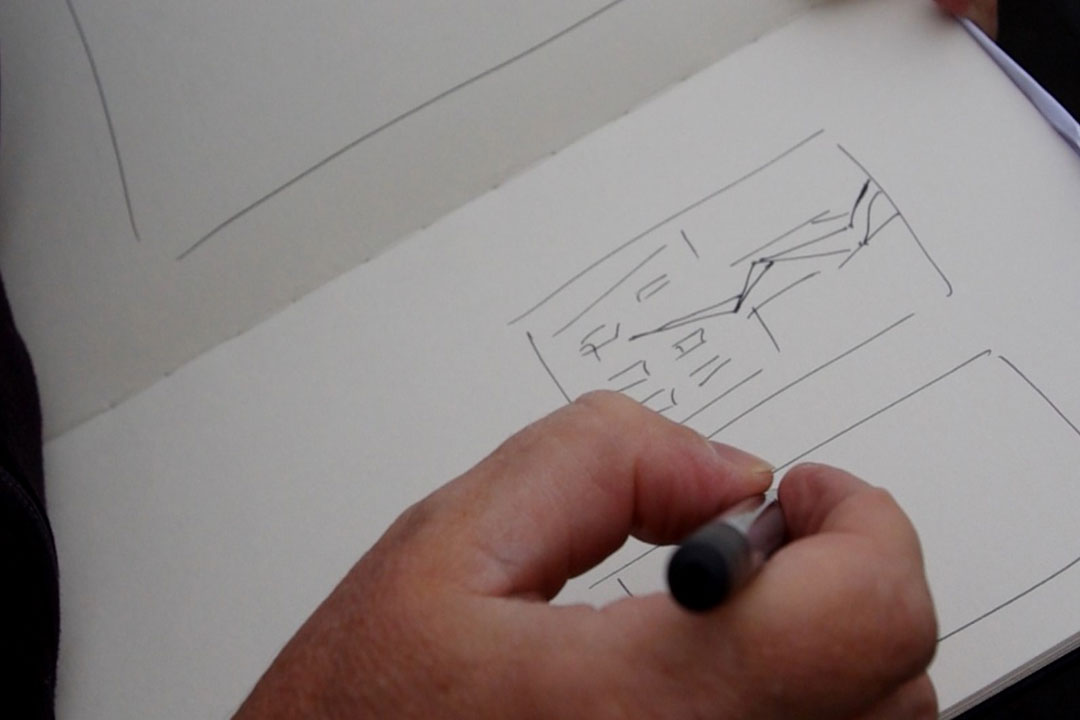
7 years after German unification, I didn't want to photograph the former inner-German border, but the new all-German outer border for my state work. I therefore quickly needed a sketchbook to record my journey as a diary and documentation. Until 2005, I reported on my travels in my drawing diary, made sketches, recorded architecture in drawings and planned my pictures. A year later, the sketchbook lost its importance as a diary of travel impressions, because with the laptop, every place now became a mobile office. No more travel impressions in the sketchbook. In my sketchbooks I now kept index montages and small sketches. I started my penultimate sketchbook in 2016 and finished it in 2021. Sometimes my sketchbooks fill up faster with ongoing projects, other times they take longer. Sketchbooks that are broken or too destroyed I have re-bound.
The Artist's Pen
Of course, as an artist, you need pens: drawing pens, signing pens, pens for drawing, noting, measuring, and so on. For signing I need very different pens. The most harmless and classic pencil is the pencil. The B3 is my favourite. However, the pencil does not write on all materials and so I often used a pigment liner, which is light- and water-resistant and document-proof. In the sketchbook I also used pigment liners because they don't smudge. On other materials, such as on plastic papers or when scaling on masking tape, I needed other pens again.
The Doctrine of Aggressive Adhesive and the Further Development of Fixing Elements
In art you constantly have something to hold, to mount, to glue, to fix or simply to protect from movement. In the beginning I made the mistake of using UHU glue and Sellotape to fix photos in my drawing book or in mounts for exhibitions. Unfortunately, the glue went through the image and made it fade, these glues can get up to 10 cm and further through whole blocks of paper. Usually, you then see a yellow snake of the liquid glue or a small yellow square of the Tesa rolls underneath. Today I mainly use acid-free bookbinding glue for index mounting. For fixing objects, I use P90 tape. This is acid-free and so I bypass the process of these aggressive glues seeping through. I use the same tape to mount photographs, paper and works in mounts. But my most important tape is the Tesa brand. Quite banal, plain Tesafilm, as we know it from every office and household. With this I stuck my negative strips together to form large sheets of film. To make it less visible and to prevent dirt from sticking to it, I cut it on the roll with a cutter to a width of 3mm. In 1998, I presented a 140 x 140cm negative sheet like this at a Kodak presentation as a light box. Scotch tape doesn't do my negatives any good, but it's the only way I can make the large contact sheets, or rather, it's the only way the films are scanned appropriately, which in the long run can pass on my work to posterity.
Autor

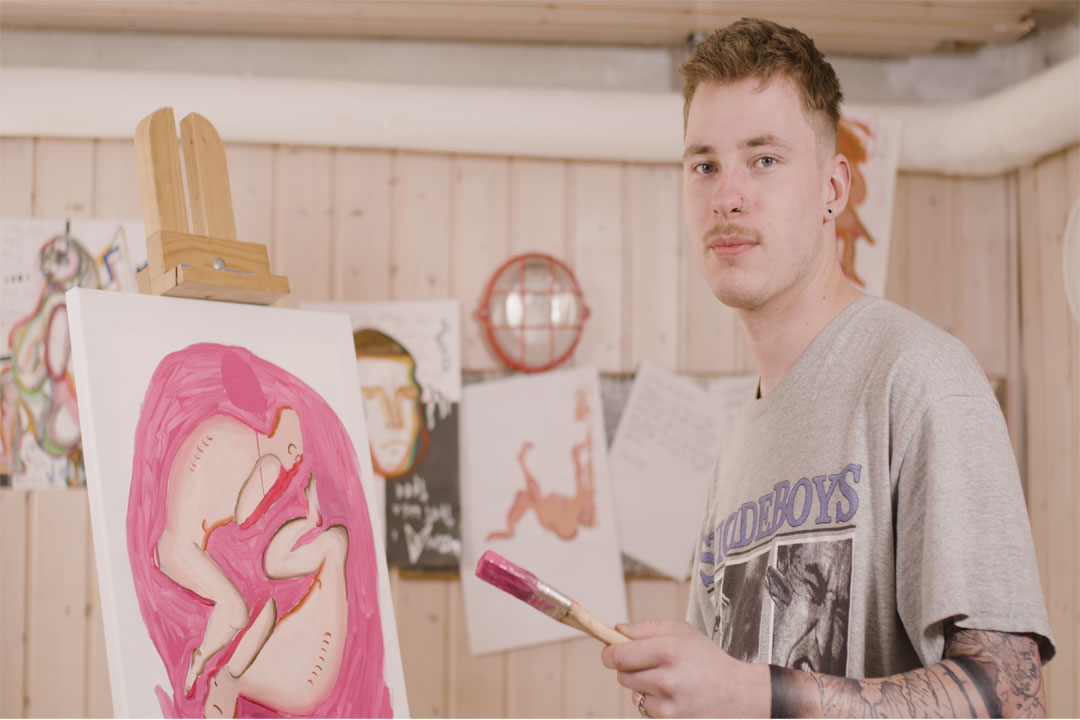
Maurice Fey, born November 20, 1999 in Siegen
Internship: 2021/22 at studio Thomas Kellner
Special interests: Art, Music, Poetry
Goals: Being an independent artist


